A salon-quality at home pedicure saves money and you don't have to leave the comfort of your home. With the right tools and techniques, you can keep your feet looking fabulous all year round.
There is no need to have rough feet and gnarly toenails, I'll walk you right through the process of creating a perfect home pedicure, from gathering your essentials to maintaining lovely perfectly polished feet.

Benefits of an at Home Pedicure
An at home pedicure is an affordable and convenient way to pamper your feet, keep them baby-soft and looking beautiful. It also helps to promote circulation and relaxation. Regularly providing yourself with a pedicure can help to prevent nail fungus, dry skin, cracked heels and other common foot issues. Taking the time for an at-home pedicure will also leave you feeling more confident in sandals or barefoot.
A regular pedicure can also help detect any early signs of health issues such as diabetes or circulatory problems. The massage that typically comes along with a pedicure can help to relax muscles and improve mobility in your feet, ankles, and legs. Additionally, spending some time on self-care can be quite therapeutic and may lead to improved mental health overall.
Essential Tools for Your DIY Pedicure
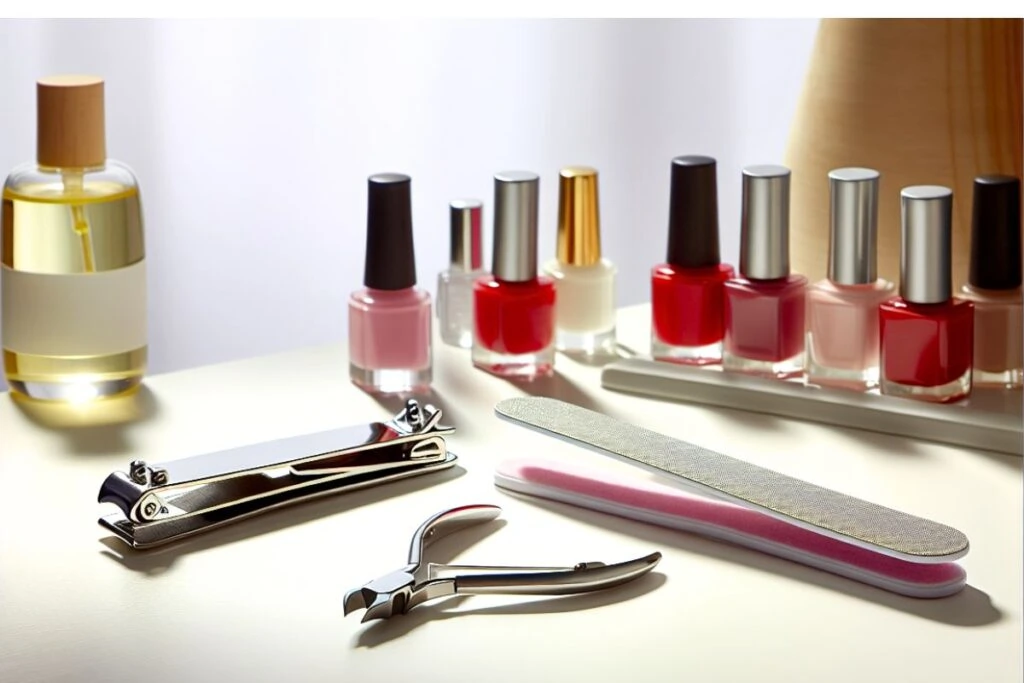
The cornerstone of an impressive at home pedicure is investing in the proper tools. A salon-quality pedicure requires:
- Nail polish remover and cotton pads
- Basin, bath salts and clean towel
- Toenail Clipper
- Nail File (and Buffer if you are leaving nails natural)
- Cuticle oil (and cuticle pusher or orange stick, if your cuticles typically need this)
- A pumice stone or foot file
- Exfoliant
- Lotion
- Polish, Base Coat and Top Coat (and toe separators if you need them)
Mastering the use of these tools aids in recreating the nail salon-like pedicure at your convenience, ensuring a well-groomed nail bed.
How to do a Pedicure at Home
To prepare your feet and nails, follow these simple steps. See below for more in-depth detail on the steps.
- Remove any old polish with cotton balls soaked in nail polish remover. Get fresh ones as needed, don't skimp.
- Soak feet in a foot bath not only for a luxurious experience, but to soften callouses and make exfoliation easier.
- Exfoliate your feet with a foot scrub and use a pumice or foot file to slough off thicker rough skin areas and remove callouses.
- Trim with a nail clipper and file toenails.
- Apply cuticle oil to nourish your cuticles and a good moisterizer or foot mask to ready your feet for polish. After the cuticles have softened gently push them back with a cuticle pusher if necessary. Wipe down your nail beds before applying polish.
- Rub a some moisturizer on your feet and give them a little massage one foot at a time.
- Apply toe nail polish, starting with base coat, then two thin coats of polish and a top coat. Touch up with a cotton round soaked in remover or simply shower or soak feet after and rub off any polish on skin.
Nail Polish Removal: Out with the Old
Starting the pedicure process with removing nail polish is a crucial step. The old polish is removed so that your new polish can adhere properly to the nail and the coats will look smooth. It's also a good time to inspect your nails for any signs of damage or infection.
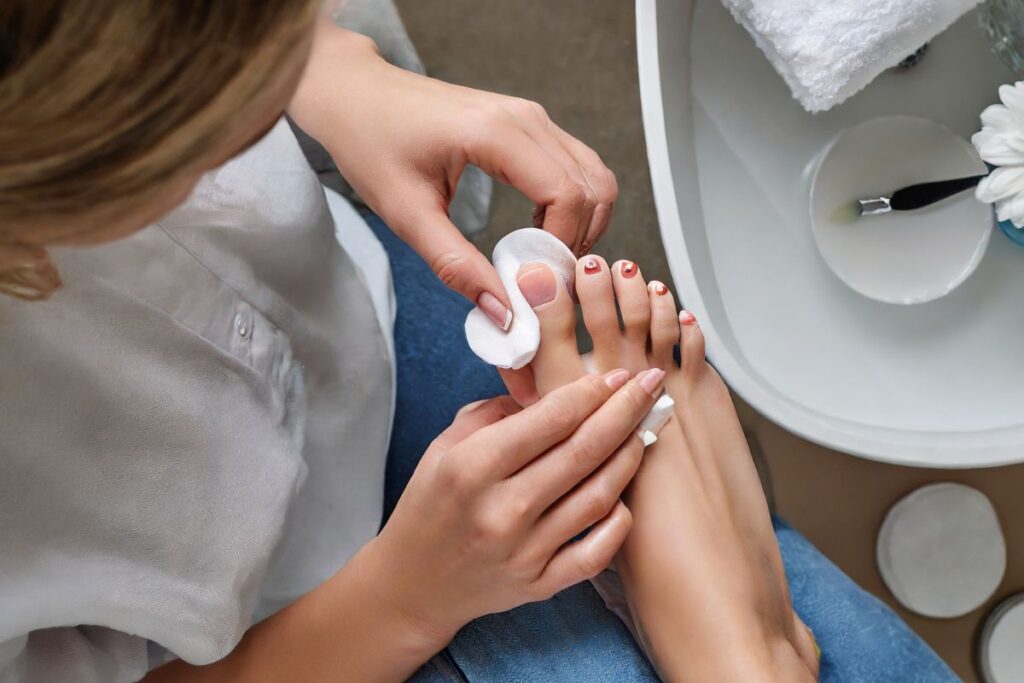
Nail polish remover and cotton pads are the best tools for this job. Try to use a remover that's free from harsh chemicals to avoid drying out your nails. Soak a cotton pad in the remover and set it on nail to soften the old polish than rub to remove. Be generous with your use of pads or cotton balls and remover to get nice clean toenails to start your DIY pedicure.
Preparing the Perfect Foot Soak

An ideal foot soak establishes a serene ambiance for a great pedicure. Here’s how to create the perfect foot soak:
- Fill a pedicure basin or bathtub with warm water.
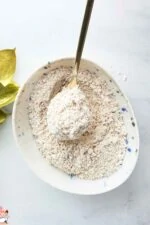
- Add a generous amount of skin-soothing bath salts for the ultimate spa experience.. Epsom salts, sea salt or magnesium flakes are the best choices. (Epsom salt and Magnesium flakes are both great ways to absorb calming magnesium into your body.)
- To enhance the soothing effects, consider adding a tablespoon of baking soda and/or your favorite essential oil, such as tea tree oil or peppermint. See my recommendations on the best essential oils for foot soaks.
- Let your feet soak in the water for at least 15 minutes.
Not only does a warm water foot bath provide comfort, but it also primes your cuticles for the forthcoming pedicure stages.
Amp up the foot soak experience with a bubbling foot bath. It really helps give you that spa-like experience.
Exfoliation: The Key to Smooth Feet
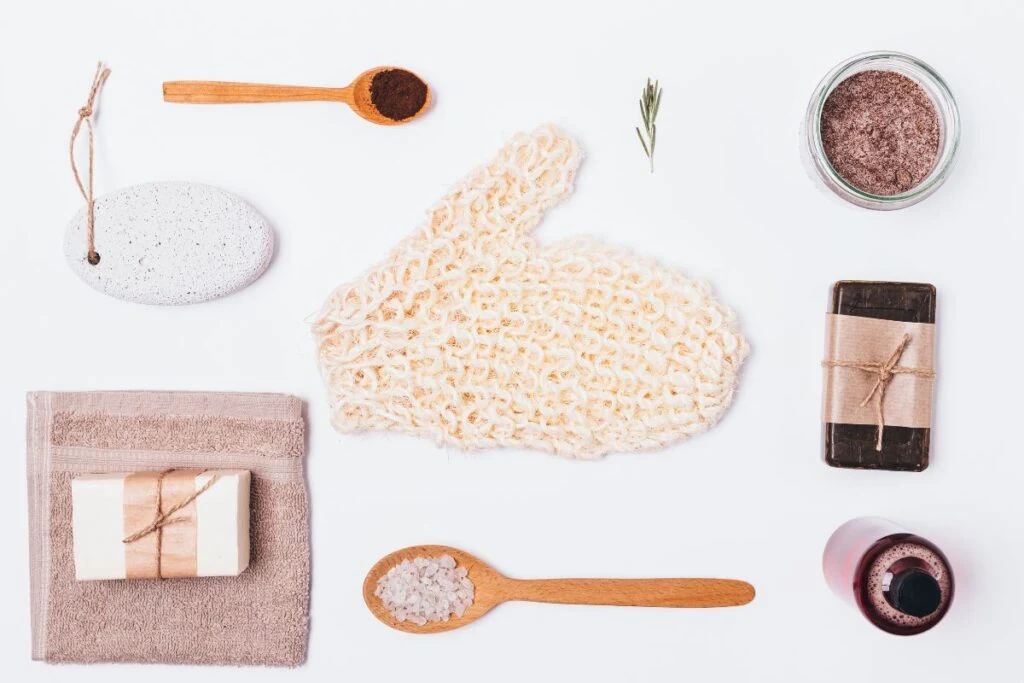
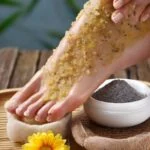
Exfoliation stands as the integral element in attaining silky, renewed feet in your pedicure routine. It removes dead skin, supplies moisture, and evens out the soles of your feet. You can use a salt or sugar scrub to lightly exfoliate and polish the skin on your feet during your soak, while a foot file or pumice stone can be used on the soles to achieve smooth skin on rough patches.
Pay special attention to the heels and balls of your feet, given their tendency to develop calluses and hard skin. A good quality Pedicure File can effectively tackle calluses and smooth your heels.
See my article on homemade foot scrubs, for recipes and to learn more about their benefits.
Nail Care: Clipping, Filing, and Cuticle Attention
Having softened and exfoliated your feet, the next step of your at home pedicure is to tend to your toenails. Begin by trimming and filing your toenails, then attending to your cuticle care.

Here’s how to do it:
- Clip nails straight across, dont clip to far down the sides. This helps avoid getting ingrown toenails, which can be painful and unattractive. Smooth out any rough edges with a nail file.
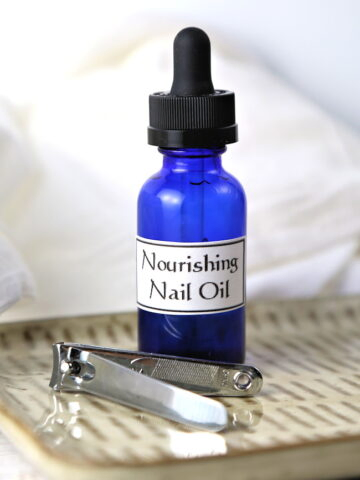
- Apply a few drops of cuticle oil, my homemade nail strengthener oil also works well as a cuticle oil.
- Gently push back the softened cuticles with a cuticle pusher to remove any excess on the nail.
Moisturizing: The Secret to Softness

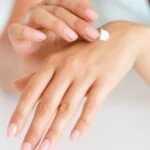
No one wants dry skin on their feet, so after exfoliation and toenail care, the next step is hydrating. Moisturizing helps keep your feet soft and relaxed. Apply a foot cream or lotion directly after drying your feet for the best results. Ones with shea butter are especially effective at hydrating feet.
Massaging your feet with lotion not only adds hydration but also provides a relaxing experience after soaking and exfoliating. This step will leave your feet feeling soft, smooth, and pampered.
Base Coat Application: Foundation for Longevity
Applying a base coat plays a significant role in prolonging the life of your DIY pedicure. A base coat acts as a protective barrier between the natural oils of the nail and the nail polish, preventing staining and ensuring the color stays intact despite daily wear and tear on your feet.
There are various types of base coats available, including:
- Clear or translucent base coats
- Strengthening base coats
- Rubberized base coats
- Nail treatment base coats
If you prefer a polish-free, natural nail look, simply buff the nails and rub a little nail oil on.
Mastering Polish Application
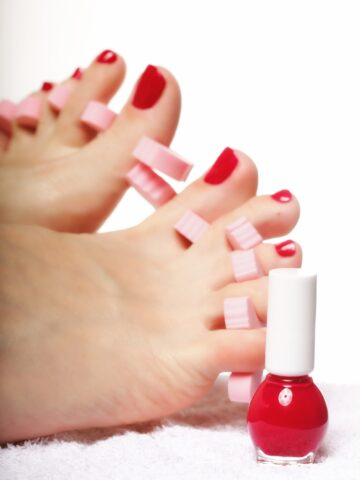
Having prepped your nails and applied a base coat, the stage is set for adding color. For best results when applying polish, apply a thin coat then a second coat also done in a thin layer, allowing time to dry between coats. To keep your pedicure neat, use toe separators or a rolled sheet of paper towel between your toes to prevent smudging.

If you prefer a more natural look, you can lightly buff your nails and apply your favorite nail oil to complete your pedicure. See my tips on whitening nails for a fresh clean look.
Regardless of your polish preference, mastering the application process will give you a professional-looking pedicure at home.
Not sure what polish color to use on your toes? Go with something neutral or see my discussion on What to Match your Toenail Polish to.
The Importance of Top Coat
To complete your at home pedicure, use a top coat. This will seal in the color and protect against chipping, ensuring your pedicure lasts as long as possible. No, basecoat is not the same thing as topcoat.
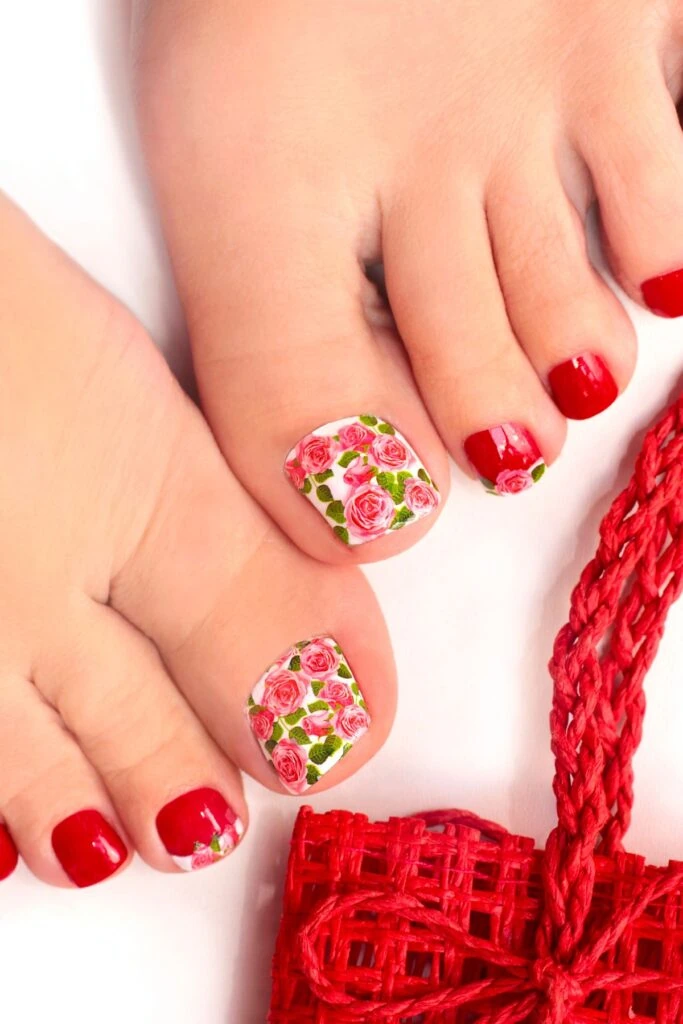
Reapplying your top coat every week is a small step that can make a big difference in how long your pedicure lasts.
For a high-shine finish, opt for a glossy top coat. This will give your nails a salon-quality finish, making them look like you've just stepped out of a professional nail spa. For a more understated look, a matte top coat can provide a unique, chic finish.
Protecting and Maintaining Your Pedicure
Pedicure care extends beyond the point when the polish dries. Here are some tips to keep your feet healthy and extend the life of your pedicure:
- Daily moisturizing: Apply moisturizer to your feet every day to keep them hydrated and prevent dryness.
- Cuticle oil application: Use cuticle oil regularly to nourish and soften your cuticles.
- Remove nail polish: Occasionally use nail polish remover clean your nails bare to allow access to nourish them and prevent discoloration.
- Consistent pedicure maintenance ensures your feet remain appealing. Here are some tips to help you maintain your pedicure:
Summary
At home pedicures are easy and convenient with the right tools and techniques. From preparing the perfect foot soak to mastering polish application and maintaining your pedicure, you can have fabulous feet on any budget. So why not give DIY pedicures a try and enjoy the luxury of pampered feet anytime you desire?
Frequently Asked Questions
What is the best thing to soak your feet in for a pedicure?
Soaking your feet in Epsom salts is a classic pedicure choice and offers numerous benefits. It breaks down into magnesium and sulfate, which some believe can be absorbed through the skin for its benefits.
How do you give yourself a pedicure at home?
Gather the necessary pedicure tools, trim and file your nails, exfoliate with a foot file, give yourself a massage, apply a base coat, paint on polish, and seal with a top coat to give yourself a professional pedicure at home.
How to do a salon perfect pedicure at home?
Give yourself a luxurious spa experience at home by following the steps of removing old lacquer, cutting and filing the nails, washing, soaking, exfoliating and moisturizing your feet. Pamper your toes and enjoy a salon-worthy pedicure!
How can I do my toes at home?
To do your toes at home, you'll need to prep your nails, soak your feet, remove any dead skin, trim and shape your toenails, add cuticle oil, massage with lotion, apply a layer of base coat, then apply polish, and finish off with a top coat.
How can I enhance my foot soak with essential oils?
Enhance your foot soak with essential oils by adding a few drops of your chosen oil to the warm water for an aromatic experience.
I hope you have found this at home pedicure guide helpful. I personally love the being able spruce up to my feet anytime I want without the cost and inconvenience of a salon trip.










Leave a Reply