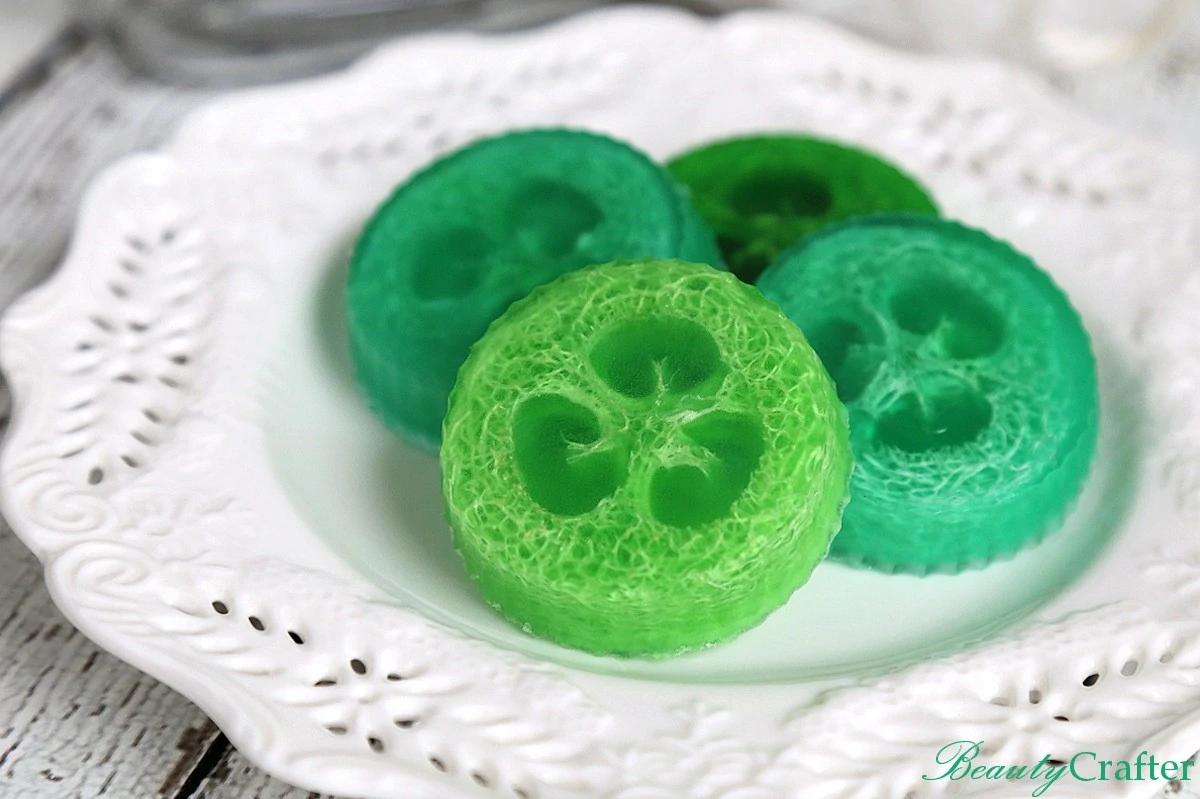
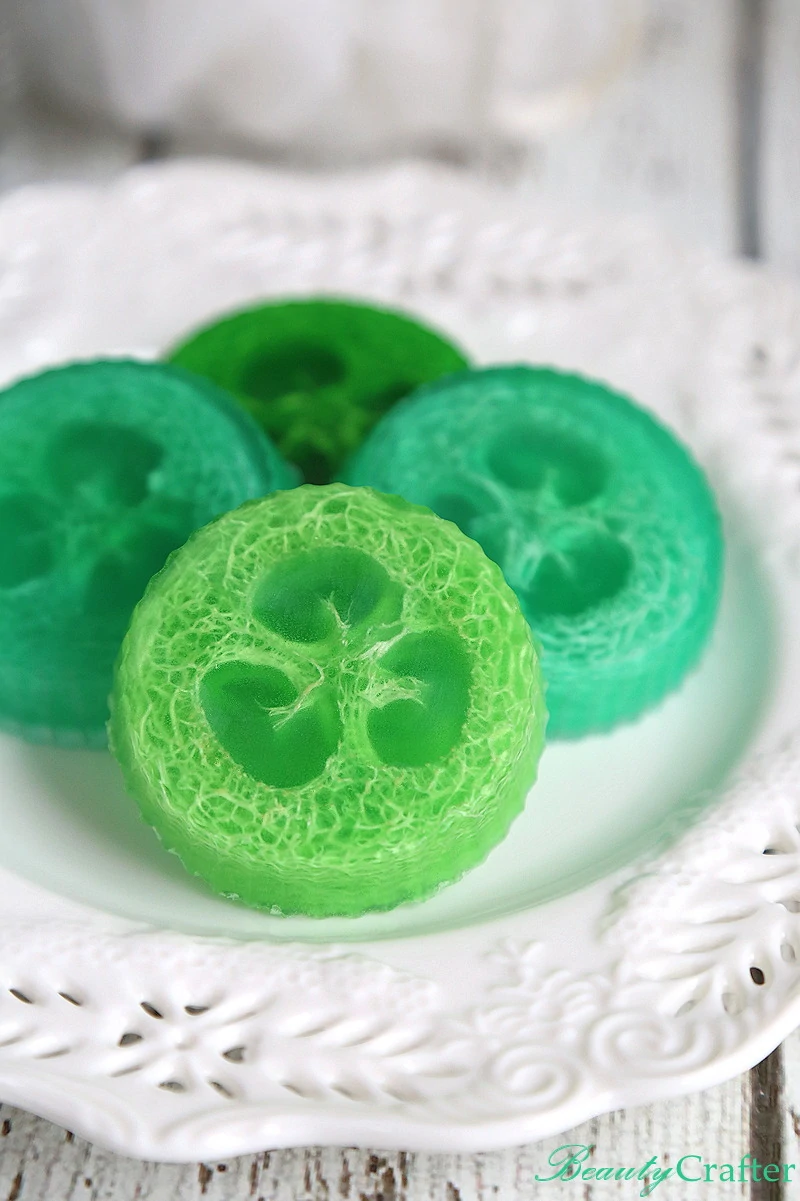
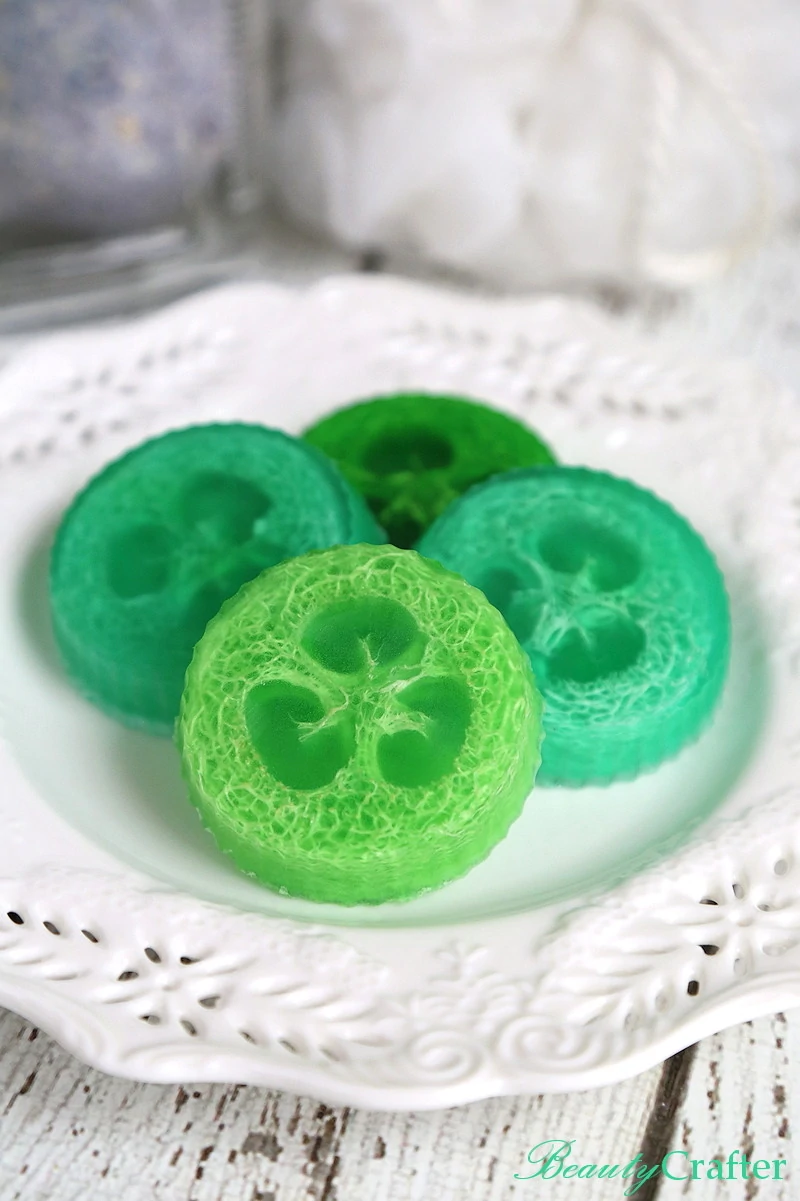
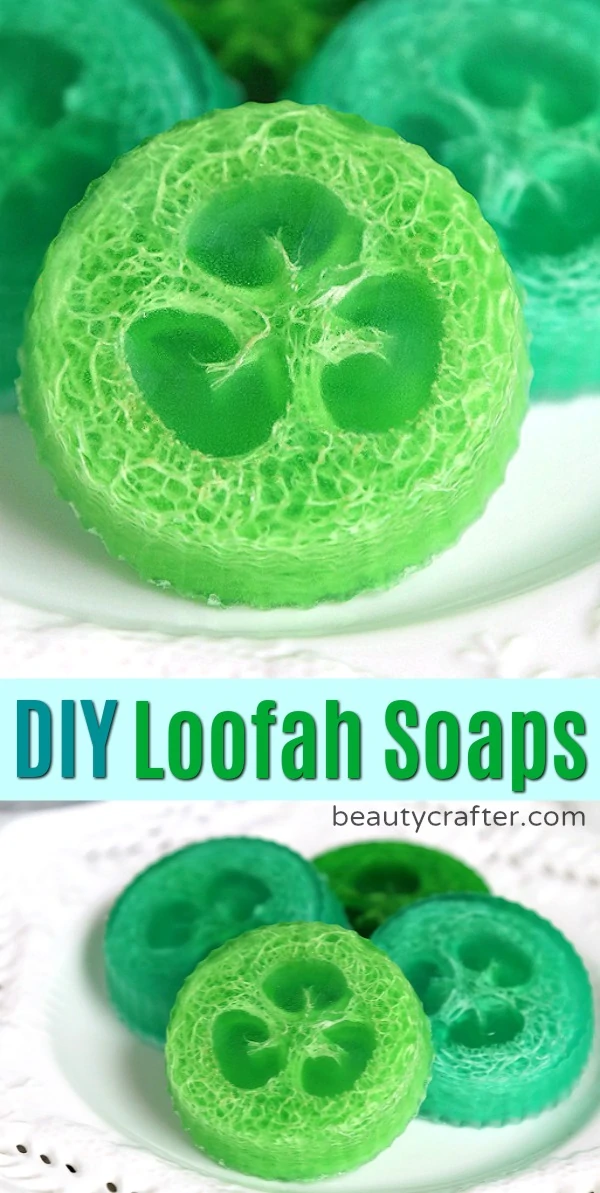
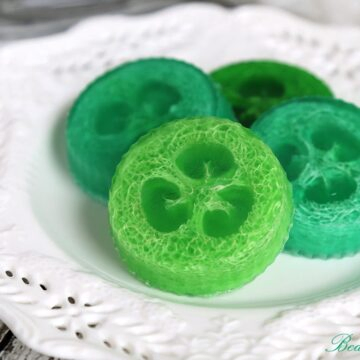
It is so easy to make your own loofah soap aka luffa soap at home to exfoliate off your dead skin cells and leave your skin fresh and glowing. I have an easy DIY Loofah Soap recipe to help you along with making your first batch! The bars are a fantastic addition to your skincare routine and nice gifts too.
Homemade Loofah Soap
This is such an easy way to make exfoliating loofah soap bars. You can craft a batch in just a few short minutes and kids love to get involved! You can literally finish these DIY luffa soaps an hour before you gift them.
The simple DIY Loofah soap recipe uses melt and pour soap base and silicone baking cups as molds.
Loofah / Luffa : What it is
In case any of you are a little confused as the what a loofah actually is, it is the fibrous remains of the luffa fruit (part of the cucumber family) after everything else has been removed. Luffa is generally referred to as loofah in everyday usage and is a completely natural material, free of toxins that is great for skincare.
... and yes, you can grow your own. Luffa seeds are available and they mature in about 90 days. Then you'll have all you want for homemade loofah skin and bath products... for almost free!
Benefits of Using Soap with Loofah
Natural loofah sponges have long been used as an exfoliate to remove dead skin cells. This type of exfoliation is more gentle than many other methods. Gently sloughing the dead skin cells off, helps leave your skin fresh, smooth and glowing without irritation. It also exposes the fresh new skin cells, which helps dry skin by increasing absorption of moisturizers after your shower or bath.
The natural sponge is also know to promote lather, so is of course a great addition to homemade soap bars. When you want to craft exfoliating soap, loofah is the go to thing to use.
Making DIY Loofah Soap
To create the luffa soaps, it really just takes pouring melted soap base that has been tinted and scented over slices of loofah that have been placed in silicone baking cups as molds. Care should be made not to over tint the base. Being able to clearly see the loofah inside the soap bar, is a big part of the appeal of this soap making craft project.
Tip: You need to check that the luffa sponge you have is not wider than your silicone cups before you start slicing it.
Scent Choices
Any skin safe essential oils with a soothing scent would be fine to use making these soaps. I chose to simply add one oil, frankincense,in this batch. I thought it compliments the sea glass tones I used making the bars and frankincense is a highly beneficial essential oil for skin health.
Lavender is relaxing in the bath too, I use that essential oil in these often as well, tinted with purple of course. Fresh scents such as, Lemongrass and orange are also great choices for bath soaps. Pick one you enjoy that seems a natural fit for the color you choose for the soaps.
Grab the Project Supplies to Make DIY Loofah Soap
Full directions below.
Natural Loofa Exfoliating Bath Sponge 6" by Spa Destinations "Creating The In Home Spa Experience"


If you likes this easy soapmaking project, you may also like my Coffee Soap. It is also good for exfoliation. Try one or more of my sugar scrubs too!
DIY Loofah Soap Recipe: Easy to Make Loofah Soap
Ingredients
- small loofa sponge about 2 ½ inch diameter
- melt & pour glycerin soap base
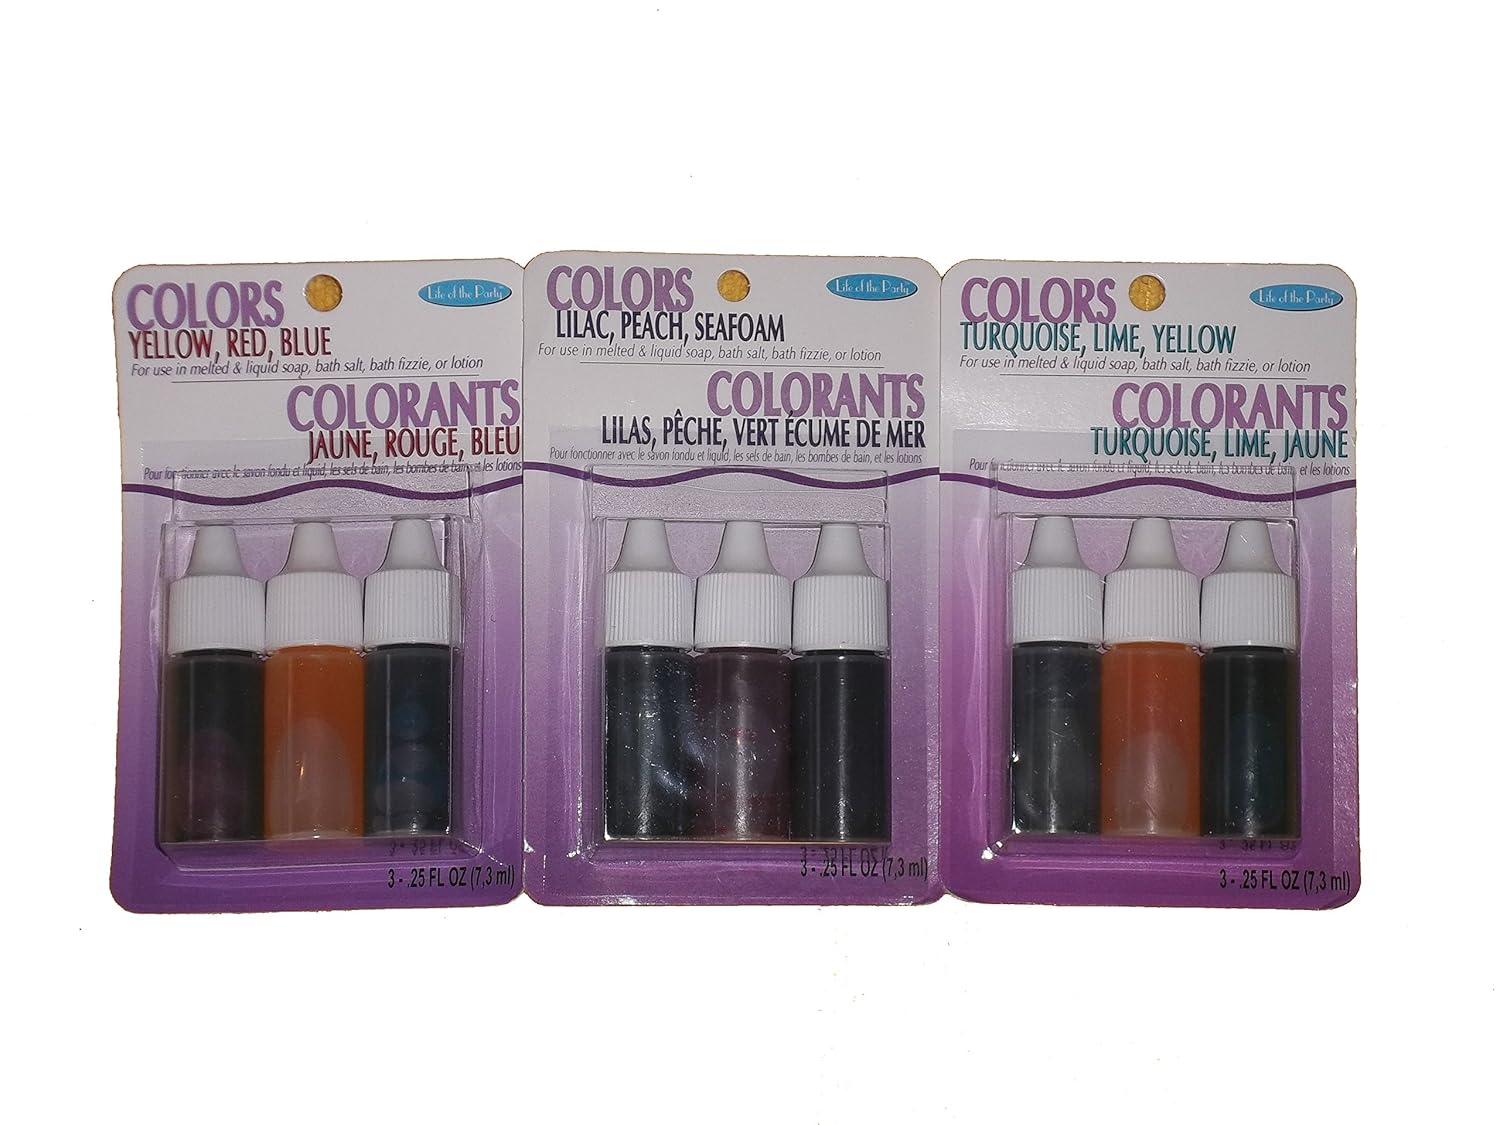
- soap colorant gel food color would also work
- essential oil I used frankincense
- silicone baking cup liners or round molds
Instructions
- Make sure your loofah is not larger than mold diameter before starting.
- Slice the loofah into ½ - 1 inch thick pieces, depending on how big you want your soaps and drop one in each baking cup. I sliced mine about ½ inch.
- Chop up a few ounces of the melt and pour soap base and place in glass measuring cup along with a drop or two of colorant. Microwave until melted. Check color if it is too dark add more base, too light another drop of color. Once at the color you like, add a few drops of essential oil. Stir then slowly pour over loofah. Make sure to saturate the loofa sponge with the base mixture and don't fill much past depth of sponge.
- Repeat until all slices are covered. As you refill the measuring cup adjust the color a little to make complimentary color shades of soaps all in the same color family. If you want contrasting colors use another cup/bowl or wash between colors.
- Allow it fully cool before popping them out of molds. If you are in a hurry, feel free to place them in the refrigerator, but not the freezer.


