


This DIY coffee soap recipe has a fresh brewed coffee scent and exfoliating properties. It is very easy to make since it utilizes a melt and pour soap base. The homemade soap is a simple craft project that produces giftable results and is perfect for soap making beginners.

DIY Coffee Soap
An easy melt & pour coffee soap recipe that is great for the skin and has a distinct handmade look to it. Not having to mess with lye solution makes this one of the easiest homemade soap recipes you can make.
Benefits of Coffee Soap
Coffee soap benefits are numerous. Here is why adding a coffee bar of soap to your skin care routine is worth it.
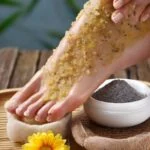
- First of all the coffee grounds of course have a mild exfoliating effect. Sloughing of old dead skin is always a good thing for ensuring a fresh look.
- Caffeine is anti-inflammatory for the skin.
- Reduces water retention, making skin look less puffy and improves circulation (both are good for reducing the appearance of cellulite).
Getting the Handmade Soap Look with Melt and Pour Soap
There was a purposeful attempt to make this soap look clearly homemade. I love rustic looking natural soaps. This is how I got the look.
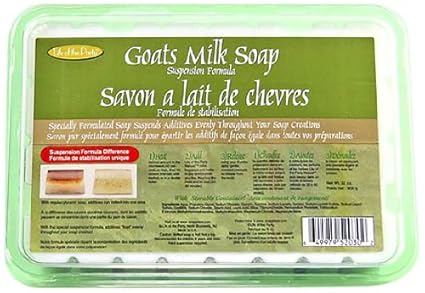
Creamy Goat's Milk melt & Pour Soap Base, Two Pound Shea Butter Suspension Soap Base, 2-Pound
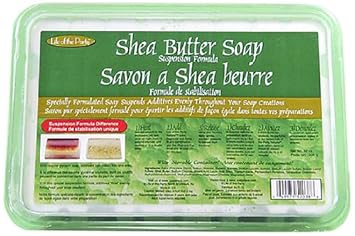
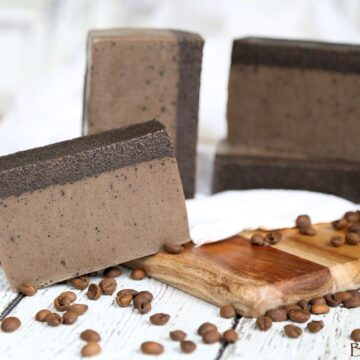
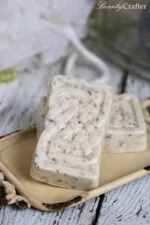
To mimic the look of handcrafted lye soap, the melt and pour soap mixture was poured into a single mold then sliced into bars. I think this gives it an appealing homemade look. The layered effect takes no effort, the coffee grounds tend to float to the top. I actually stir the soap mixture to cool it for awhile before pouring to ensure the bulk of the bar is richly saturated and a few coffee grounds run throughout the bars.
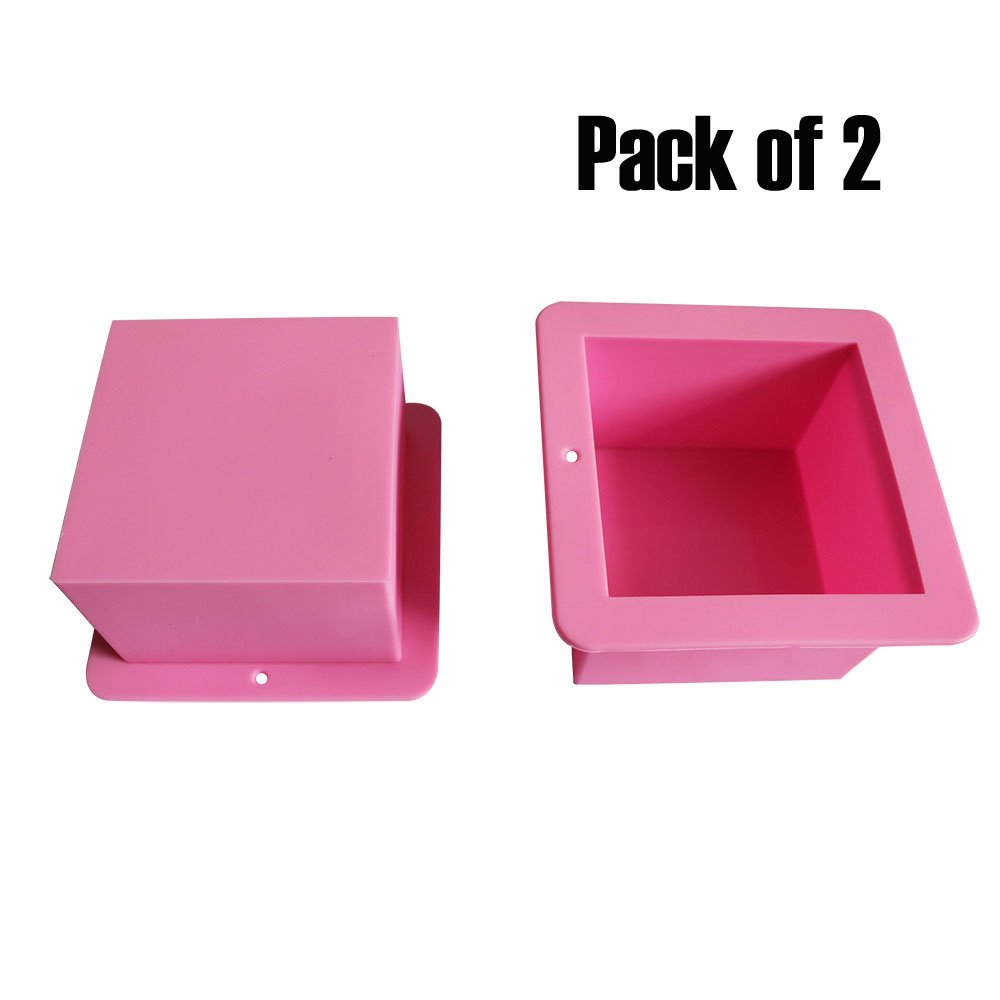
This is the exact soap mold I used.
BAKER DEPOT 500ML Silicone Mold For Handmade Soap Mold Toast Mold Bread Mould Square, Set of 2
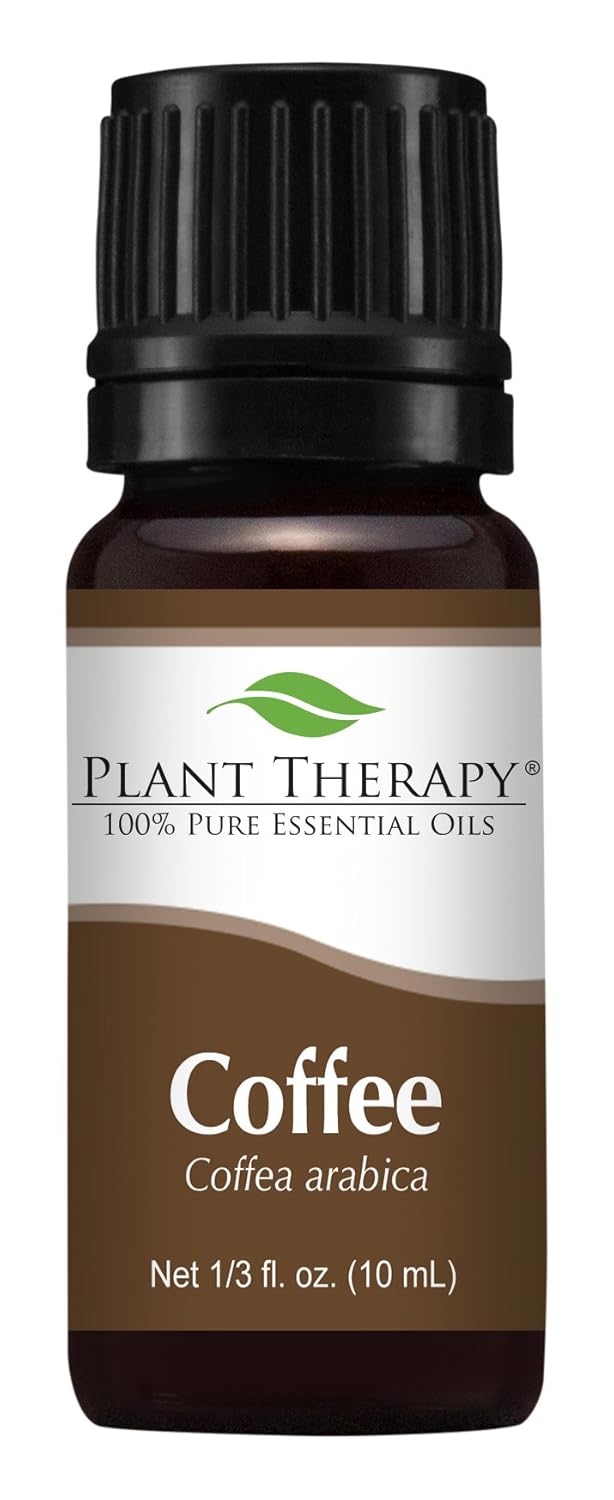
While you can certainly keep this coffee soap recipe to the base and grounds, adding some vanilla oleoresin or coffee fragrance
 can add to the experience of using the exfoliating soap. The coffee fragrance oil will ensure you get that uplifting coffee smell while showering or bathing. The scent from the coffee grounds will not be strong alone.
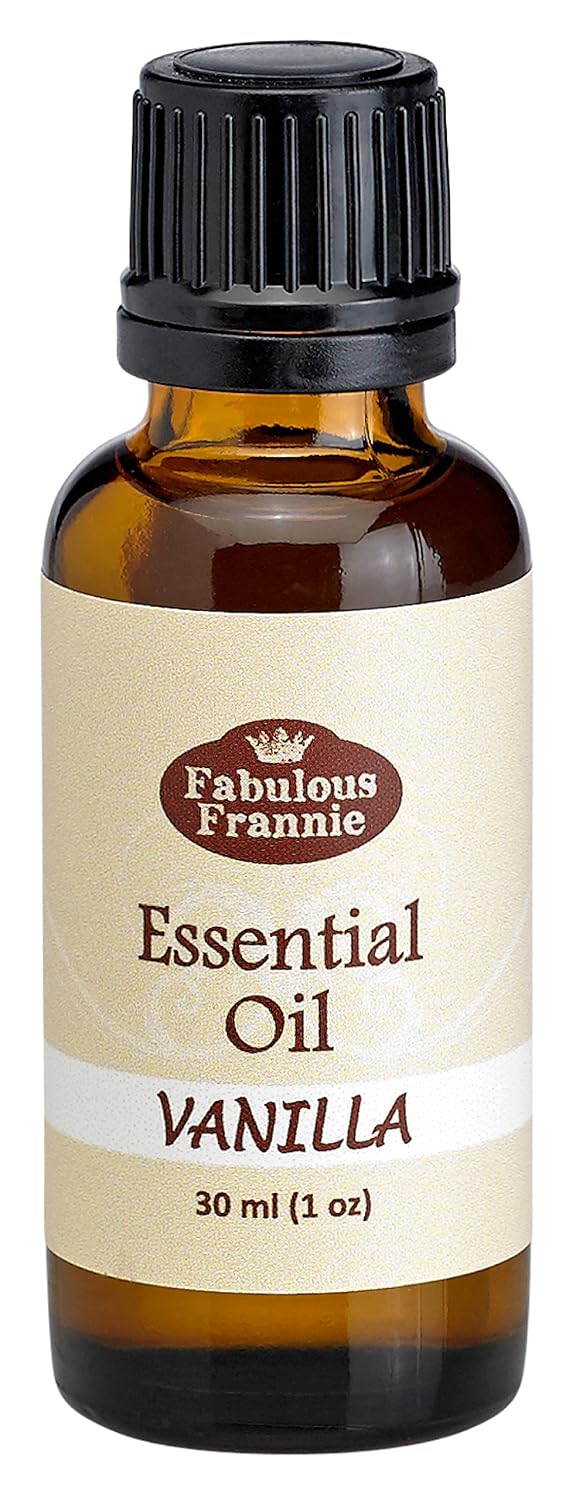
Vanilla Essential Oil - 30ml Great scent for the Spa and HomePlant Therapy Coffee Essential Oil. 100% Pure, Undiluted, Therapeutic Grade. 10 ml (⅓ oz).

Make some Coffee and Cream Bath Bombs or DIY Coffee Scrub to go with these bar soaps for a gift set.
DIY Coffee Soap Recipe: Easy Melt and Pour Coffee Soap
Ingredients
- 1 pound goats milk melt and pour soap base shea butter soap base would be OK too
- ¼ cup coffee grounds
- ¼ teaspoon vanilla essential oil Oleoresin or coffee fragrance oil ***optional***
- large cube silicone mold or make double batch in loaf mold
Instructions
- Cut soap into smaller pieces. Place in microwave safe bowl along with coffee grounds. Microwave for 40 seconds, stir then repeat in 10-20 second intervals until soap in fully melted.
- Remove and stir until soap begins to slightly slightly thicken (add fragrance if you wish at this point and stir in). Pour into the soap mold and allow to cool fully.
- Cut into slices to create bars.
Notes


cathy
Hi. These soaps look delicious! Please can you clarify what you use for the coffee grounds? Do you buy coffee beans and grind them up yourself?
Beauty Crafter
Just use standard ground coffee in the soaps.
Josi
Used coffee grounds or dry coffee grounds? When do you pour the coffee into the melted base ?
Beauty Crafter
Dry coffee grounds. Used is OK, but dry them first. You can add them before or after melting the soap base, though I toss them right in at the beginning.
Merijoe
There are two colors, do you add color because your description is different from what I see here
Beauty Crafter
That is the coffee grounds. Most of them float to the top while the soap is setting. This area of the bar is great for exfoliation. There are no colorants added.
Merijoe
I understand that the colors change however it seems there are two perfect layers and the bottom layer is really dark.
Beauty Crafter
The images are soap made in a loaf mold and sliced. Individually poured coffee soaps may not have as stark of a contrast as they will cool much faster.
Anya Gooding
Hi, can you change the colour of the soap, if so how would you do this and with what products?
Beauty Crafter
You could make it darker with soap dye or gel food coloring. Adding less coffee grounds would make it lighter. If you wanted a more vivid color you could make a separate melt and pour soap mix and use as a contrast layer, otherwise the color will end out muddy.
Anya Gooding
Thank you, is it possible to change the colours to blue, pink, green etc.
Beauty Crafter
I think the colors will end out looking muddy. Cold process (made with lye) it might work.
Amanda
How long ca these last? Will the coffee grounds mold at all?
Beauty Crafter
Just store them in a plastic bag or airtight container and they will last a long time. I found one from this batch that had been stored in a ziploc a couple years later and it was still fine. I would not suggest keeping them that long, but it actually held up better than most soaps would.
Anya Gooding
Hi, once the soap has been made how long is the shelf life?
Beauty Crafter
It lasts quite awhile if stored in airtight packaging or container. I have used a bar that was well over a year old, so at least 6 months.
Ronne DeSantis
Do you use instant coffee?
Beauty Crafter
No, coffee grounds are used in this recipe. I do use instant in my bath bombs and it would likely work fine in a melt and pour soap.
Kenzie
This looks amazing. I’m new to soap making. I have a cocoa butter base. Can I use it with this recipe?
Beauty Crafter
Yes, any melt and pour soap base will work.
Ruth
Can I add fresh lime peels n lemon peels to melt n pour soap?
Beauty Crafter
There are two ways. You just add the finely zested outer peel as I did in my zesty lemon soap or you can dehydrate the peels and grind up, as I did in my creamy citrus mint soap. Both soaps mentioned are melt and pour recipes.
Anya Gooding
Is there anything specific you use to stir/mix the soap
Beauty Crafter
Not really. A small silicone spatula is ideal, but a chopstick, fork or spoon will do.
Phil
Hi
Are these lovely recipes just for home crafting or is it CPSR approved?
Beauty Crafter
I personally don't sell any products, so never needed to go through that process.
Mitchell
How do you dry the coffee grounds, And do they have to be fully dry? I guess it starts to mold when they are still wet?
Beauty Crafter
Spreading them out speeds drying. Yes, wet grounds will not last well.
Le'o
Aloha,
When using instant coffee as a colorant in melt in pour, do you have to dilute it in anything first to prevent clumping or spotty patches?
Mahalo in advance!🌺
Beauty Crafter
No, I just add it right in.
Samar Neill
So I can just add the fresh coffee grounds to my melt and pour base
Beauty Crafter
Yes, dry grounds.
Johanna Gautier
Hi! Can this recipe be halved and still produce the same beautiful result? I'm disabled, without a lot of money. I think I may be able to handle this one in my wheelchair too.
Thanks in advance. I'm excited to try it.
Beauty Crafter
Yes, you may wish to use molds for individual soaps though. You might find the angle cutting the soaps challenging and the cube mold would not be as full. The grounds will float to top and actually make a wider exfoliation layer.
Sharon
Thank you! I just made this soap, my first soap ever, and it came out wonderful and smells lovely.
Veronica R Sanchez
is there a cure time for this soap
Beauty Crafter
No it is not cold process, that method requires curing.
Susan
This may be a dumb question but I’m new to soap making..can the vanilla oil be substituted with cooking vanilla?
Beauty Crafter
The oil gives off more and lasting fragrance, the extract would dissipate quickly.
Markie
It worked out wonderfully, but I was wondering, is this safe for people with skin issues/ children?
Beauty Crafter
The coffee should not be a problem, but make sure the soap base you use has acceptable ingredients.