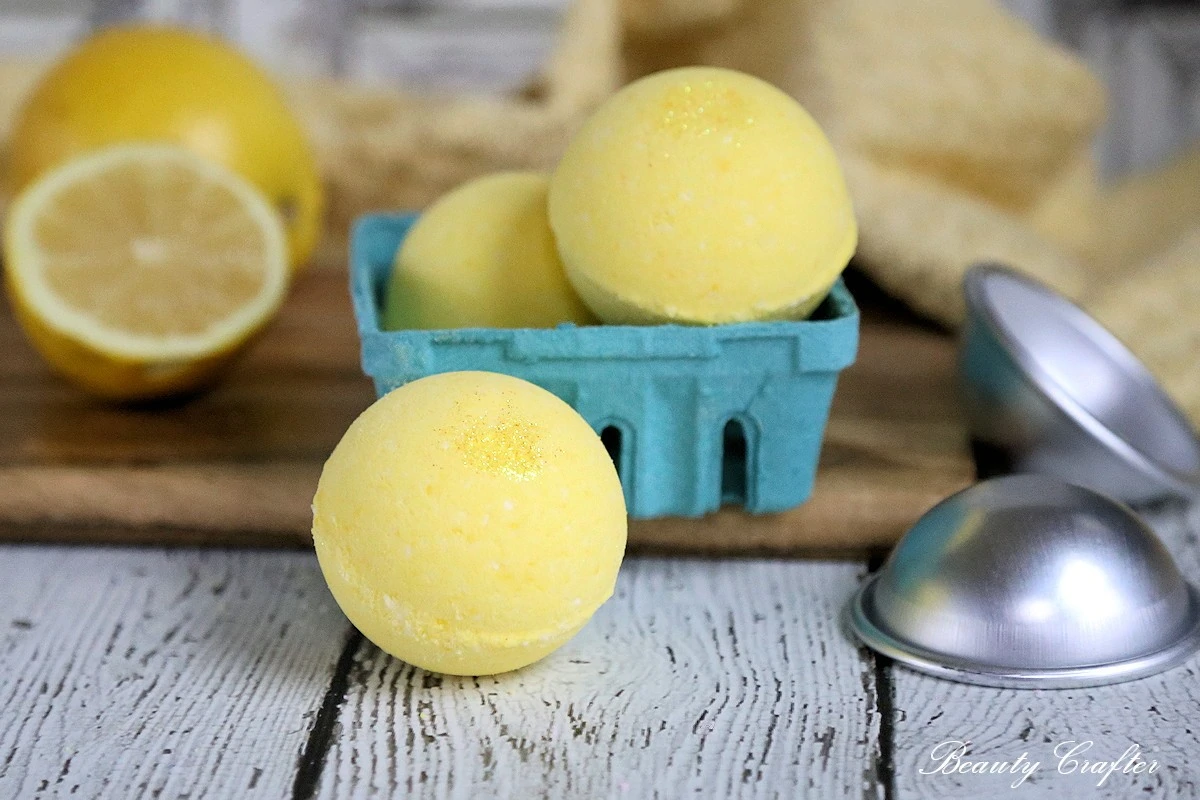
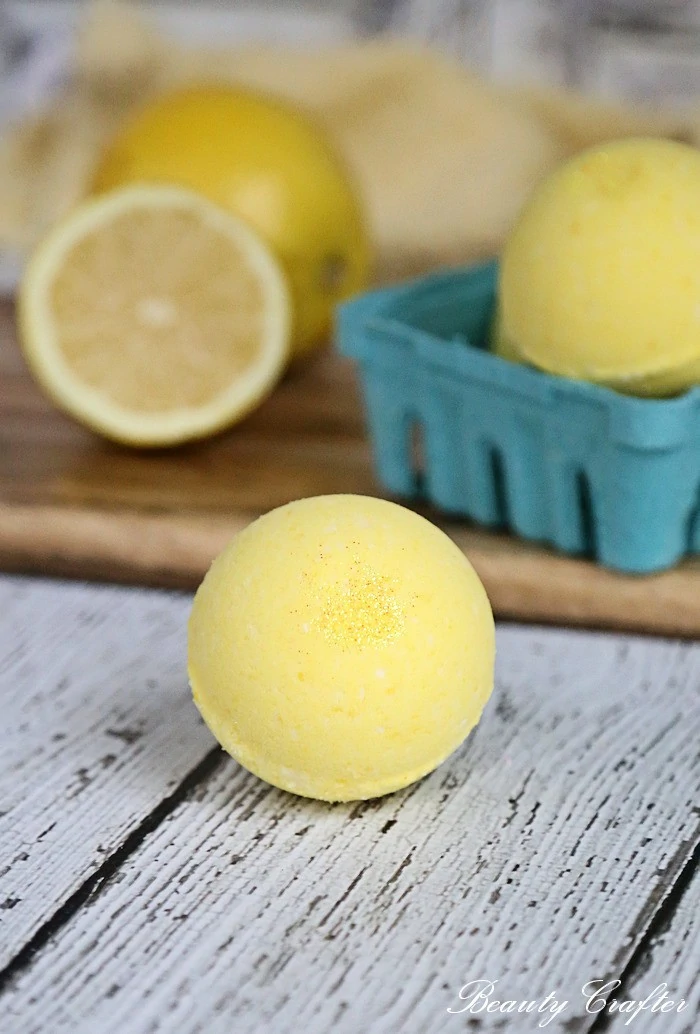
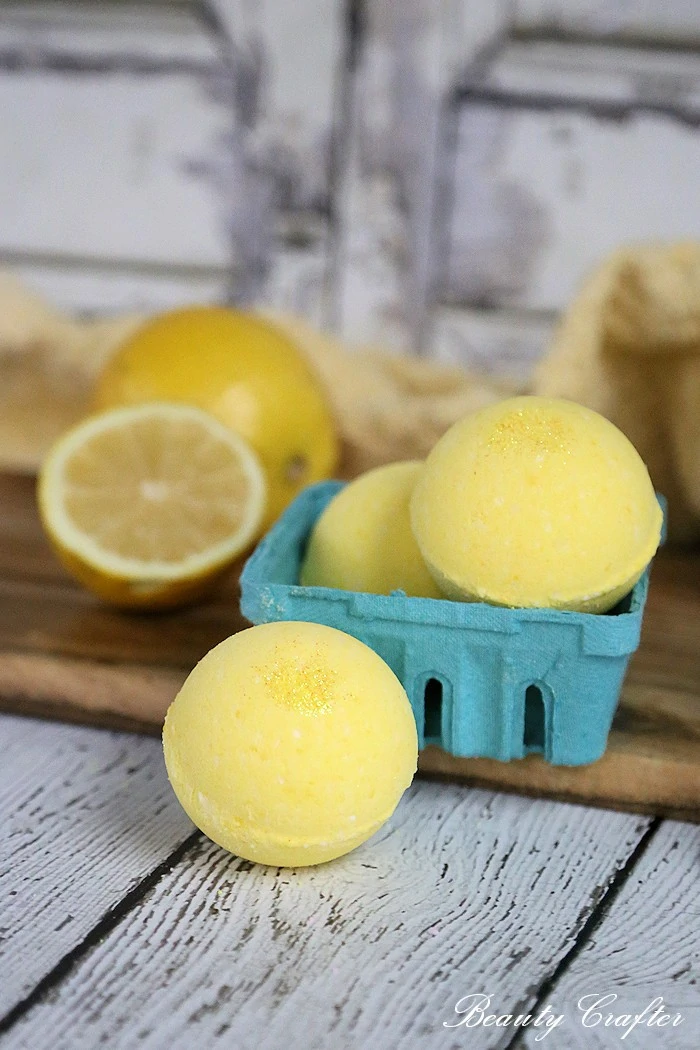
This refreshing lemon bath bombs recipe can bring the lemonade stand right to your bath!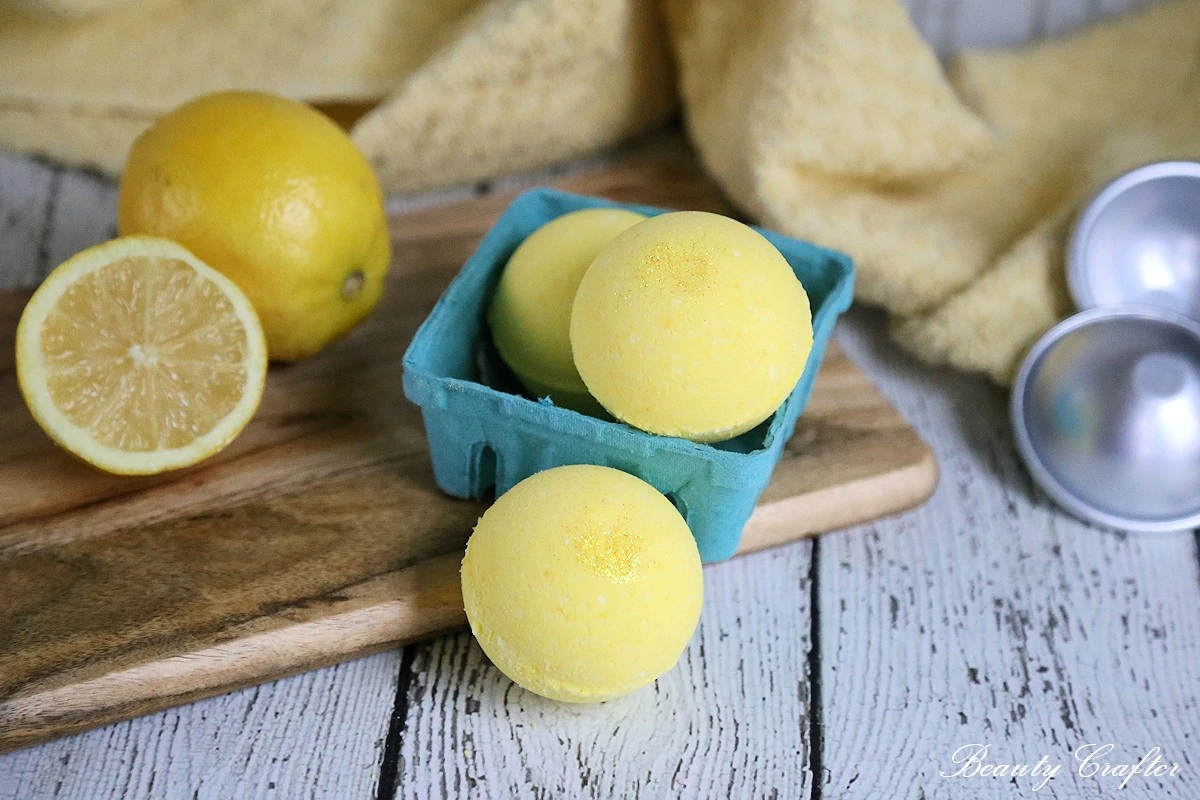
The fresh scent of lemon is not only invigorating, but evokes thoughts of cleanliness. These lemon bath bombs bring that plus skin benefits.
Skin Benefits of Lemon Bath Bombs:
Lemon has many many health benefits, especially for the skin. The lemon essential oil used to make these bath bombs is wonderful for treating acne and reducing both the size of pores and excess oil on the skin. The essential oil is also a great wrinkle fighter... and I know I want that!
Cute Lemonade Stand Labels for Lemon Bath Bombs
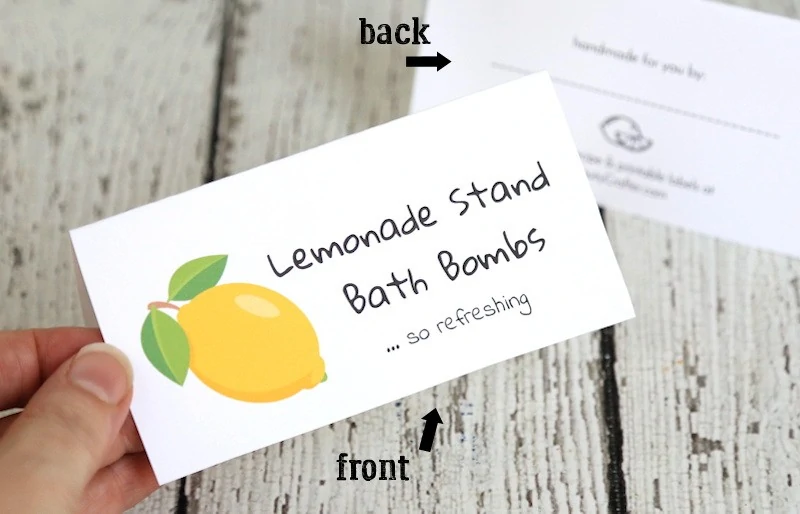
To make your lemon bath bombs more easily giftable I designed these free printable Lemonade Stand Bath Bomb labels/tags for you.
Lemonade Stand Bath Bomb Labels
Making Lemon Bath Bombs
Grab your supplies
full directions below
Lemon Essential Oil (Cold Pressed) 30 ml (1 oz). 100% Pure, Therapeutic Grade.


Lemon Bath Bombs Recipe: DIY Lemon Bath Fizzies
Ingredients
- 1 cup baking soda
- ½ cup citric acid
- ½ cup cornstarch
- ¼ cup Epsom salt
- 1 ½ tbs fractionated coconut oil
- ½ teaspoon lemon essential oil
- yellow gel food coloring
- ½ to 1 tbs water until clumps lightly when grasped
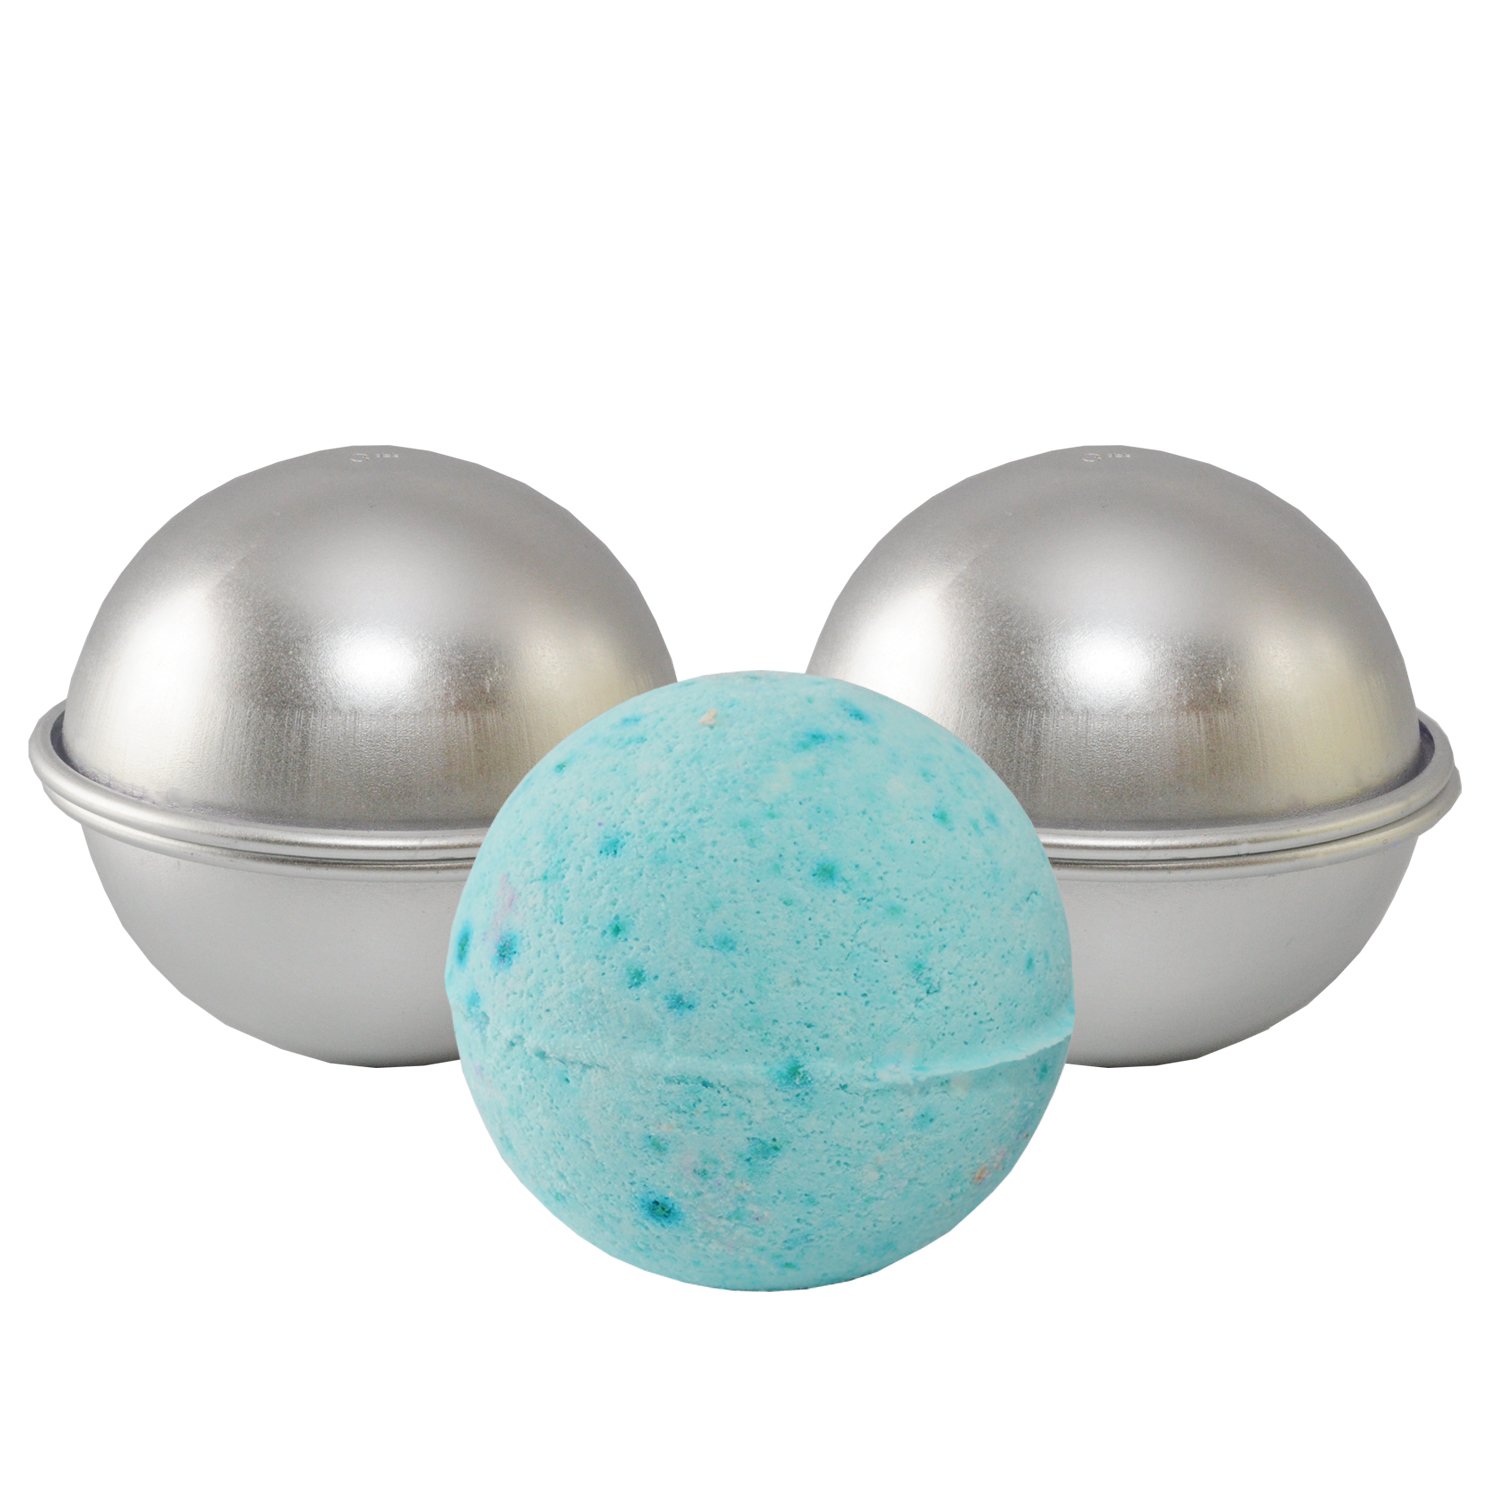
- bath bomb mold
Instructions
- Whisk together the dry ingredients. Add the fractionated coconut oil, gel food coloring and essential oil. Whisk well to evenly distribute the colorant. Add more coloring if needed.
- Test the moisture of the mixture by grabbing a handful and squeezing. If a clump is formed which holds together somewhat it should be moist enough to mold. If you need to add a little water, then add more if needed. You will not need much. 1 tablespoon at most and how much gel food coloring you added will effect the amount needed.
- Scoop up some bath bomb mixture with each side of mold and gently press down then put more mixture on top overfilled and press the sides together firmly over mixing bowl. Give a slight twist and carefully remove the mold. Set each bath bomb aside to dry.
- Once the bath bombs are dry, place in airtight container or shrink wrap bags.


